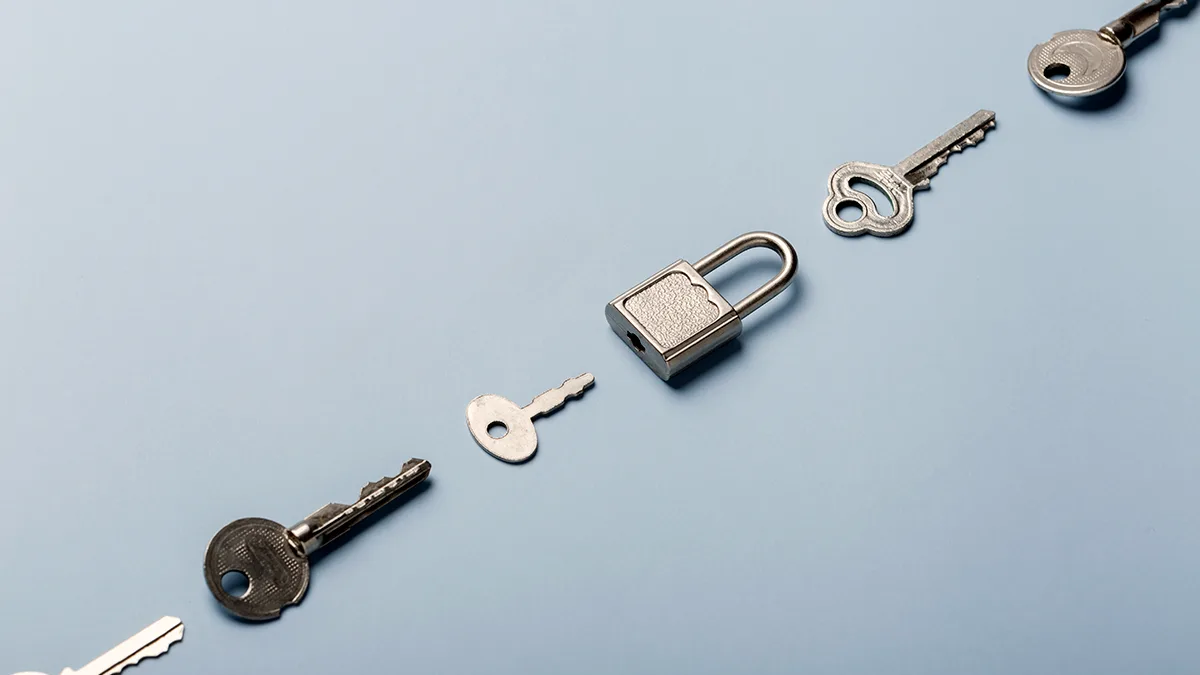
5 Ways a Locksmith Can Improve Your Home Security Today. In an increasingly uncertain world, ensuring…

Mastering the Art of DIY: How to Fix a Door Handle That Fell Off
Mastering the Art of DIY: How to Fix a Door Handle That Fell Off
Mastering the art of DIY: How to fix a door handle that fell off. In the world of entrepreneurship, mastering practical skills can be a game-changer, especially when it comes to minor yet crucial fixes like repairing a door handle that has fallen off.
Not only does this ability save time and money, but it also fosters a sense of independence and resourcefulness, traits essential for any business owner.
Mastering the Art of DIY: How to Fix a Door Handle That Fell Off
In this guide, we’ll take you through the step-by-step process of fixing a door handle, empowering you to tackle this common issue with confidence.
Ready to transform a simple DIY task into a demonstration of your problem-solving prowess? Let’s get started!
Gather Your Tools
Essential Tools List
Before diving into the repair process, it’s crucial to gather all the necessary tools. This preparation will make the task smoother and more efficient.
Here’s a list of essential tools you’ll need:
- Screwdrivers: Phillips and flathead to accommodate different screw types.
- Allen keys: Often used for handle fixtures.
- Replacement screws: In case the original ones are stripped or damaged.
- Lubricant: To ensure smooth operation of the handle mechanism.
- Cleaning cloth: For wiping down the handle and door surface before reinstallation.
Having these tools on hand will streamline the process and prevent unnecessary interruptions. By being well-prepared, you can tackle the repair confidently and efficiently. Go to Locksmith near me.
Safety Measures to Consider
Safety should always be a top priority when undertaking any DIY task, including fixing a door handle.
Here are some key safety measures to consider:
- Wear protective gloves: To avoid cuts or injuries from sharp edges or tools.
- Use eye protection: Safety goggles can protect your eyes from dust and debris.
- Work in a well-lit area: Adequate lighting ensures you can see what you’re doing clearly, reducing the risk of mistakes or accidents.
- Keep your workspace tidy: A clutter-free environment prevents tripping hazards and allows easy access to your tools.
- Follow tool instructions: Always read and follow the manufacturer’s instructions for using tools and materials.
By adhering to these safety measures, you minimise the risk of injury and ensure a smooth and successful repair process.
Prioritising safety not only protects you but also enhances your efficiency and confidence in handling DIY tasks.
Step-by-Step Repair Guide
Removing the Old Handle
The first step in fixing a door handle that has fallen off is to remove the remnants of the old handle. Here’s how to do it:
- Locate the screws: Most door handles are secured with visible screws. Using a screwdriver, carefully remove these screws. If the screws are hidden, look for a small release button or hidden attachment points.
- Pull off the handle: Once the screws are removed, gently pull the handle away from the door. If it resists, wiggle it slightly to loosen it.
- Remove the backplate: Some handles have a backplate that also needs to be removed. This can usually be pried off with a flathead screwdriver.
- Clean the area: Before installing the new handle, clean the surface of the door to remove any dust or debris.
Taking these steps ensures that the door is ready for the new handle installation, setting a solid foundation for the repair process.
Installing the New Handle
Now that the old handle is removed, it’s time to install the new one. Follow these steps for a smooth installation:
- Align the new handle: Position the new handle against the door where the old one was removed. Ensure it aligns with the existing holes.
- Insert the screws: Using the appropriate screwdriver, insert the screws through the handle into the pre-drilled holes in the door. Tighten them until the handle is secure but avoid over-tightening to prevent damage.
- Attach the backplate: If your handle comes with a backplate, attach it by aligning it with the handle and securing it with screws.
- Test the handle: Once installed, test the handle to ensure it operates smoothly. If it feels loose, tighten the screws a bit more.
By following these steps, you’ll ensure that your new door handle is securely and correctly installed, restoring functionality and appearance to your door.
Final Adjustments and Testing
After installing the new handle, it’s important to make final adjustments and test its functionality. Here’s what to do:
- Check alignment: Ensure the handle is properly aligned with the latch mechanism. Misalignment can cause the handle to stick or not operate smoothly.
- Tighten screws: Double-check all screws and ensure they are securely tightened. Loose screws can cause the handle to wobble or eventually fall off.
- Lubricate if necessary: Apply a small amount of lubricant to the latch mechanism if it feels stiff. This can improve the handle’s operation and longevity.
- Test multiple times: Open and close the door several times to ensure the handle works correctly and the latch engages smoothly. Adjust as needed if you encounter any issues.
By performing these final adjustments and thorough testing, you ensure that your new door handle is not only securely installed but also operating at its best.
This step is crucial for long-term reliability and ease of use.
Related Locksmith News!
Comments (0)