5 Ways a Locksmith Can Improve Your Home Security Today. In an increasingly uncertain world, ensuring…
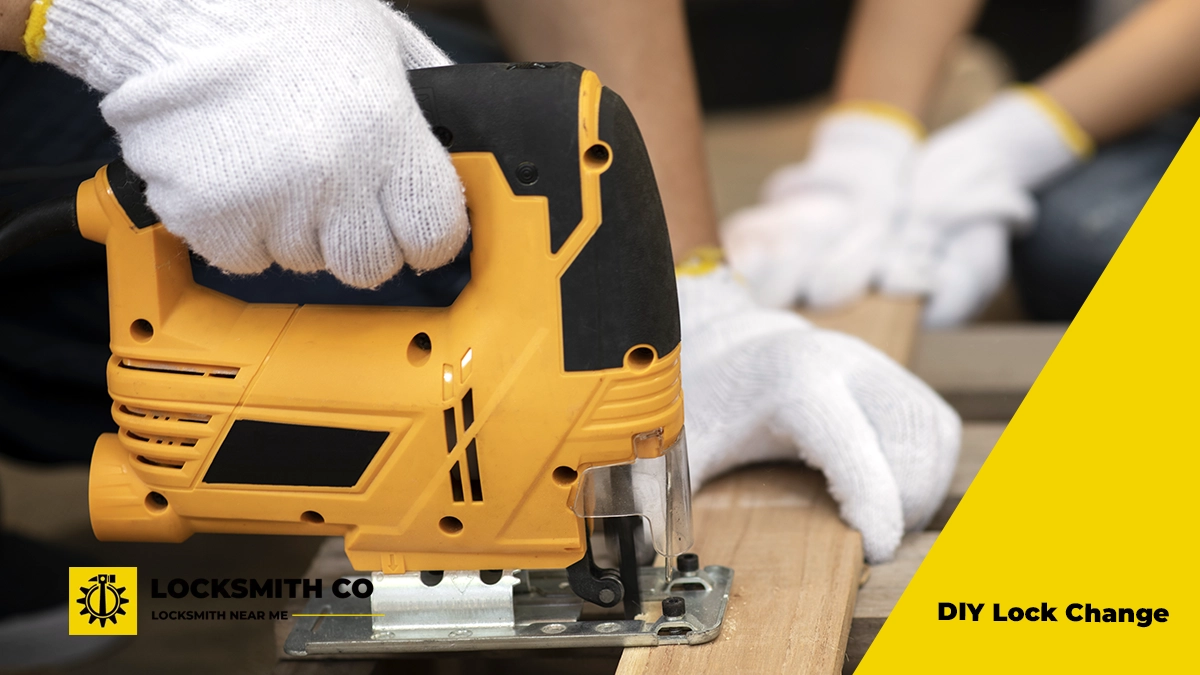
DIY Lock Change
DIY Lock Change: Mastering the Basics of Lock Replacement
DIY lock change: Mastering the basics of lock replacement. Changing door locks can seem like a daunting task, especially if you’re not particularly handy.
However, mastering the basics of lock replacement is a valuable skill that can enhance your home security and save you money on locksmith services.
DIY Lock Change
In this locksmith guide, we’ll walk you through the lock replacement steps, providing you with the confidence and knowledge to undertake a DIY lock change.
Whether you’re a homeowner, renter, or DIY enthusiast, this guide will equip you with the essential tools and methods to successfully change a lock.
Let’s delve into the intricacies of how to change a lock and ensure your property remains secure.
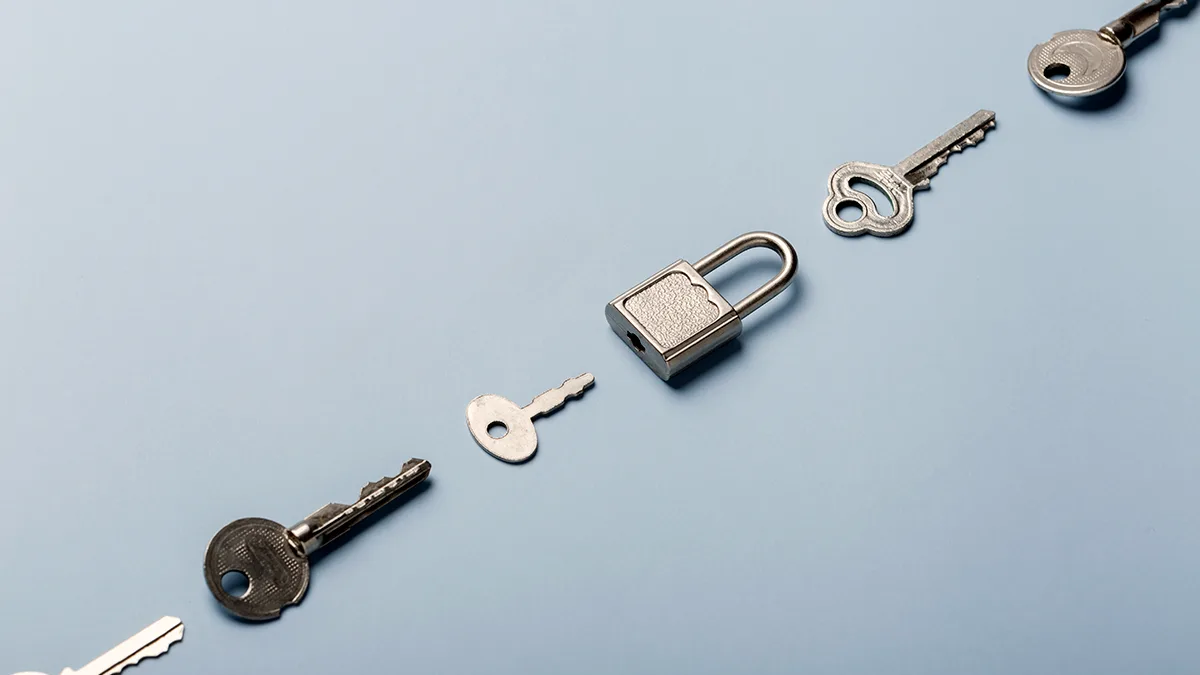
Understanding Lock Types
Common Residential Locks
When it comes to changing door locks, understanding the different types is crucial. The most common residential locks include:
- Deadbolts: These are the most secure and usually installed on external doors. They come in single and double-cylinder options.
- Knob Locks: Often used on internal doors, knob locks are less secure than deadbolts but provide basic privacy.
- Lever Handle Locks: Common in commercial settings, they are easier to operate, making them ideal for homes with elderly or disabled residents.
- Mortice Locks: Embedded into the door itself, these locks offer strong security and are often found in older homes.
Each type of lock has unique features and installation methods, so knowing the differences can help you select the best one for your needs.
Understanding these basics is the first step in mastering the DIY lock change process.
Different Commercial Lock Options
Commercial properties often require more robust security solutions compared to residential settings.
Here are some common commercial lock options:
- Panic Bars: Also known as crash bars, these are essential for emergency exits, allowing quick egress while maintaining security from the outside.
- High-Security Cylinders: Designed to resist picking, drilling, and other forms of tampering, these locks offer enhanced security for sensitive areas.
- Electronic Keypad Locks: These provide keyless entry, which can be particularly useful for managing access in busy commercial environments.
- Magnetic Locks: Often used in conjunction with access control systems, magnetic locks provide strong holding force and can be controlled remotely.
- Mortice Locks: Similar to those used in residential buildings but often more robust, mortice locks are embedded into the door, offering high security.
Selecting the right type of lock for your commercial property can significantly improve security and operational efficiency.
Understanding these options will help you make an informed decision during the lock replacement process.
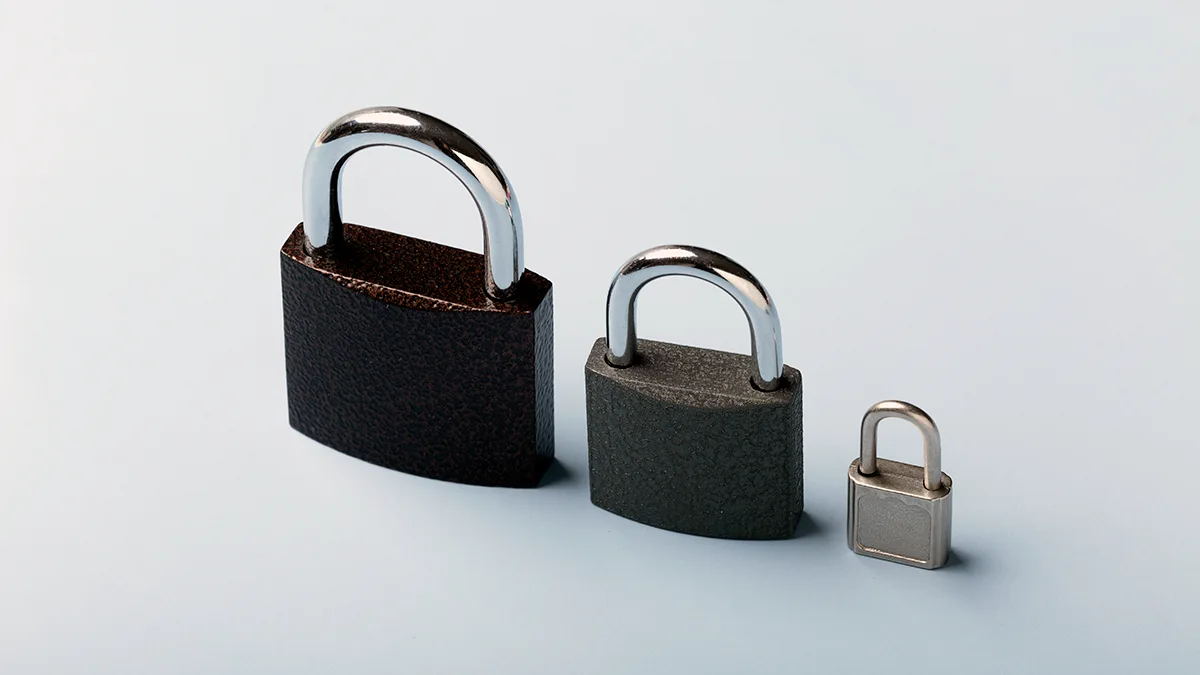
Choosing the Right Lock
Selecting the appropriate lock for your needs is a critical step in the lock replacement process.
Here’s how to make an informed choice:
- Assess Your Needs: Consider the level of security required. For external doors, opt for deadbolts or high-security cylinders. For internal doors, knob or lever handle locks may suffice.
- Evaluate Durability: Ensure the lock is made from high-quality materials. Stainless steel or brass options typically offer better durability and resistance to tampering.
- Consider Ease of Use: Think about who will be using the lock. Electronic keypad locks might be ideal for families with children or for commercial settings where multiple people need access.
- Budget: While it’s tempting to go for the cheapest option, investing in a high-quality lock can save you money and stress in the long run.
Taking these factors into account will help you make the best decision for your specific situation, ensuring that your DIY lock change enhances your property’s security.
Step-by-Step Lock Replacement
Gathering Necessary Tools
Before embarking on a DIY lock change, it’s essential to gather all the necessary tools. Having everything at hand will make the process smoother and more efficient.
Here’s what you’ll need:
- Screwdrivers: Both flat-head and Phillips screwdrivers are crucial for removing and installing screws.
- Tape Measure: Useful for ensuring your new lock fits correctly.
- Drill and Bits: If your door doesn’t have a pre-drilled hole for the deadbolt, a drill will be necessary.
- Hammer and Chisel: These can help adjust the door frame if the new lock doesn’t fit perfectly.
- Pliers: Useful for removing any stubborn screws or nails.
- New Lock Set: Ensure that it includes all necessary components like screws, strike plate, and keys.
Having these tools ready will help you follow the lock replacement steps more efficiently, ensuring a successful DIY lock change. Proper preparation is key to learning how to change a lock effectively.
Removing the Old Lock
The first practical step in the lock replacement process is removing the old lock.
Here’s how to do it:
- Unscrew the Door Knob or Handle: Using your screwdriver, remove the screws holding the door knob or handle in place. Keep these screws safe as you may need them later.
- Detach the Faceplate: Next, remove the faceplate on the edge of the door. This usually involves unscrewing a couple of screws.
- Remove the Lock Mechanism: With the faceplate off, gently pull out the lock mechanism from the door.
- Take Out the Strike Plate: Finally, unscrew and remove the strike plate from the door frame.
Carefully completing these steps will prepare you for the next part of the DIY lock change. Ensuring all components are removed properly will make installing the new lock easier, following the lock replacement steps smoothly.
Installing the New Lock
With the old lock removed, you’re ready to install the new one.
Follow these steps:
- Insert the New Lock Mechanism: Slide the new lock mechanism into the hole on the edge of the door. Ensure it fits snugly.
- Attach the Faceplate: Secure the faceplate over the lock mechanism with screws. Make sure it’s flush with the door edge.
- Install the Door Knob or Handle: Align the new door knob or handle with the lock mechanism. Insert and tighten the screws to hold it in place.
- Fix the Strike Plate: Position the new strike plate on the door frame and screw it in securely. Ensure it aligns properly with the lock bolt.
- Test the Lock: Before finishing up, test the lock to ensure it operates smoothly and locks securely.
Successfully completing these steps will finalise your DIY lock change, enhancing your home security and providing peace of mind.
Tips for a Successful DIY Lock Change
Avoiding Common Mistakes
Even with the best intentions, mistakes can happen during a DIY lock change.
Here’s how to avoid common pitfalls:
- Incorrect Measurements: Always measure the lock and door accurately before purchasing a new lock. A wrong-sized lock can lead to security issues.
- Using the Wrong Tools: Ensure you use the appropriate tools for each step. Using incorrect tools can damage the lock or door.
- Not Reading Instructions: Each lock model can have unique installation steps. Always read the manufacturer’s instructions thoroughly.
- Over-tightening Screws: Tightening screws too much can strip them or damage the lock. Tighten them just enough to hold the lock securely.
- Forgetting to Test: Always test the lock before considering the job complete. Make sure it locks and unlocks smoothly.
By avoiding these common mistakes, you’ll ensure a smoother and more effective DIY lock change, enhancing the security of your property.
Ensuring Proper Alignment
Ensuring the proper alignment of your new lock is crucial for its functionality and security.
Here’s how to achieve it:
- Check the Door and Frame: Ensure that the door is properly aligned with the frame. Any misalignment can affect the lock’s performance.
- Align the Lock Cylinder: When inserting the lock mechanism, make sure the cylinder is centred in the hole. Misalignment can prevent the lock from operating smoothly.
- Position the Strike Plate: The strike plate on the door frame should align perfectly with the lock bolt. If needed, adjust the position of the strike plate to ensure a secure fit.
- Test the Lock: After installation, close the door and lock it several times. Ensure the bolt slides smoothly into the strike plate without resistance.
Proper alignment is key to a successful DIY lock change. Taking the time to get it right will ensure your lock operates efficiently and enhances your home security.
When to Call a Professional
While a DIY lock change can be straightforward, there are times when calling a professional locksmith is the best course of action.
Here are some situations where expert help is advisable:
- Complex Lock Systems: If you’re dealing with high-security or electronic locks, a professional can ensure proper installation and functionality.
- Misalignment Issues: Persistent alignment problems can compromise security. A locksmith can adjust the door and frame for a perfect fit.
- Damaged Doors: If the door or frame is damaged, a professional can repair it, ensuring the new lock fits securely.
- Time Constraints: If you’re short on time, a locksmith can complete the job quickly and efficiently, saving you stress.
- Uncertain About the Process: If you’re unsure about any step in the lock replacement process, it’s better to seek professional assistance.
Calling a professional ensures that your lock is installed correctly, providing peace of mind and enhanced security for your property.
Related Locksmith News!
Comments (0)